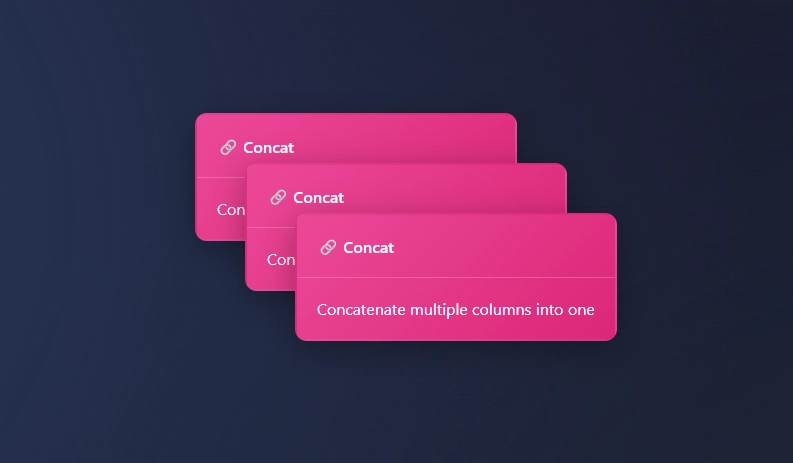
Bring your columns together as one with the Concat Node in ET1.
This node is similar to concat() in Excel and allows you to easily bring more than 1 column together in your data pipeline, and also it gives you the ability to add the delimiter. The opposite of the Concat Node is the Split Node.
How to use Concat Node in ET1
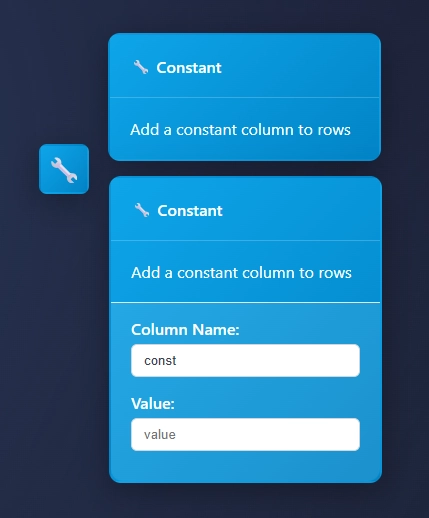
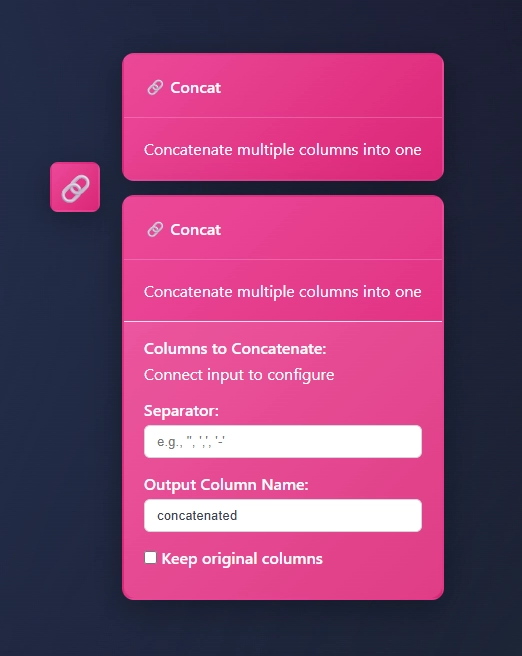
Simply send data to the Concat Node and start setting up your node.
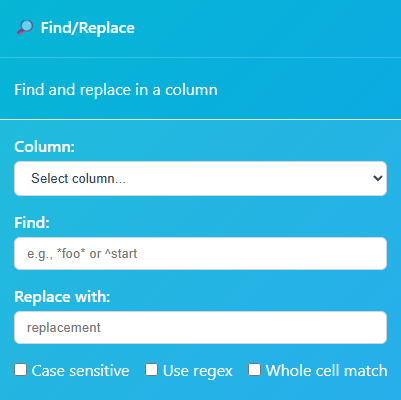
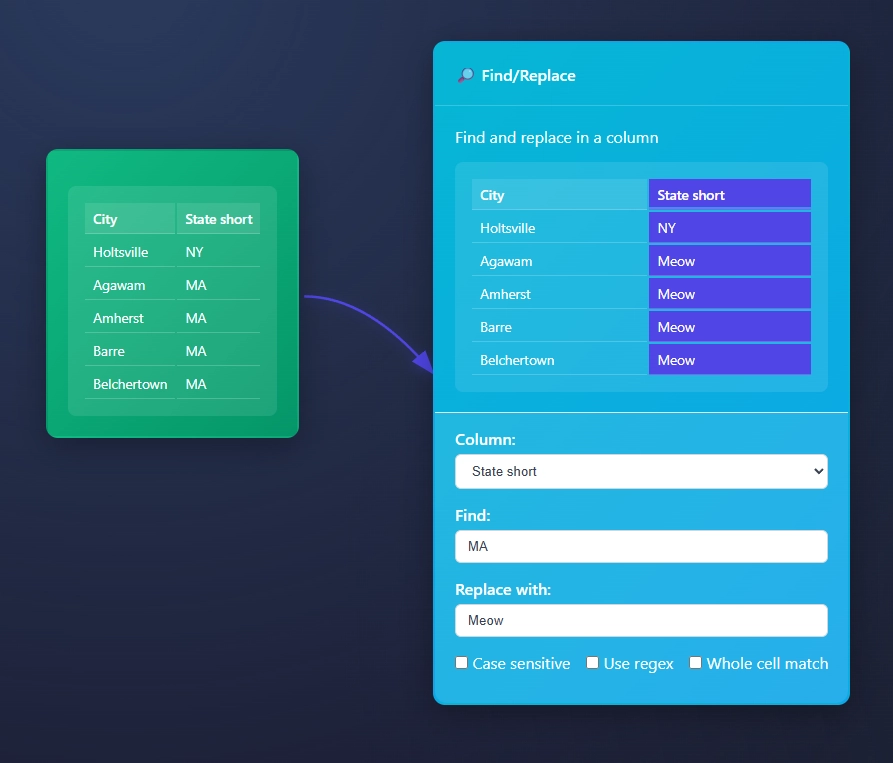
choose columns
choose separator
output column name
keep original columns (yes or no)
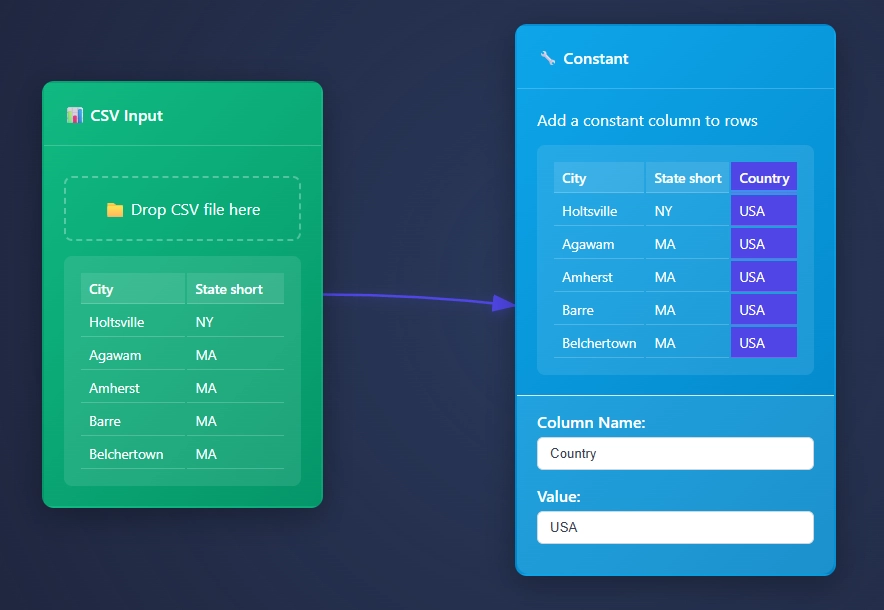
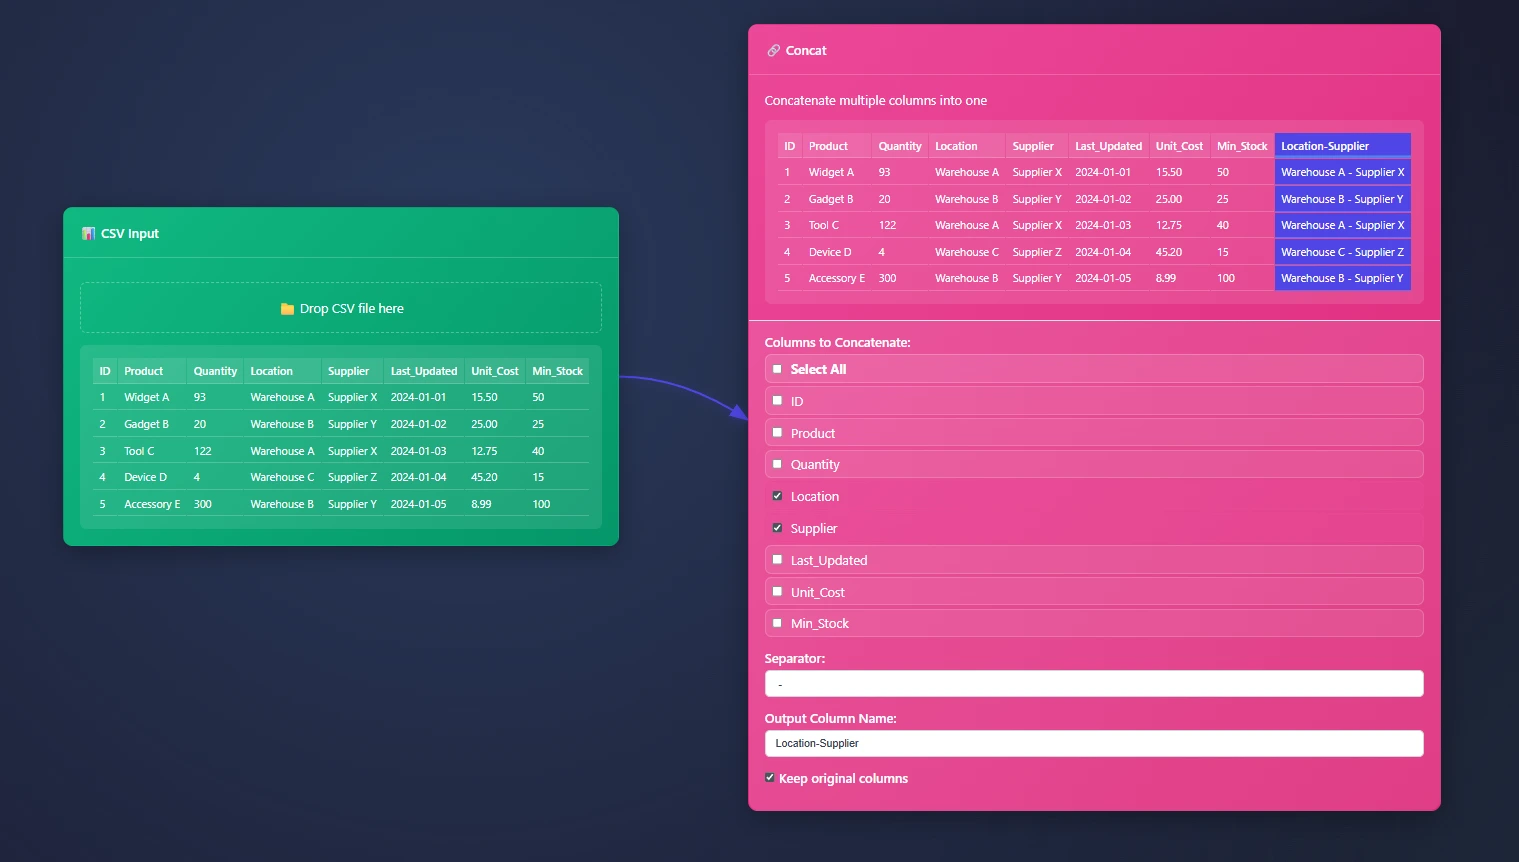
In this example we have Location and Supplier column that needs to be put together and removed from our data pipeline. By default the Concat Node calls the new column concatenated, and might be helpful for early adopters to remember what happened in this column. However our boss asked us to change headers and concat data in their CSV data.
We use the CSV Input Node. Although the Column Renamer Node may help, we wanted to consolidate your effort here incase renaming the header is ideal.
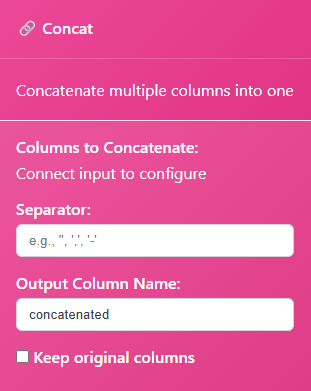
The Concat Node has 4 different settings, and help end users clean up their concatenation efforts. You may or may not want original columns and this is an important element to consider.
Thanks for learning more about ET1’s Concat Node
We appreciate you using ET1’s Concat Node, and know if you have any questions… Please contact us.
Create a table manually using the Manual Table Node. Manual Table node falls under the data input node category.
Built to help you create small tables that you need to use in your data pipelines.
When you need a thin layer of data, this is a great tool for manually synthesizing your data which happens to occur regularly while creating ETL processes.
We like to think of the Manual Table Node as a building node, for storing important variables, or simply creating data from scratch without requiring a file or data pipeline established.
Using the Manual Table Node
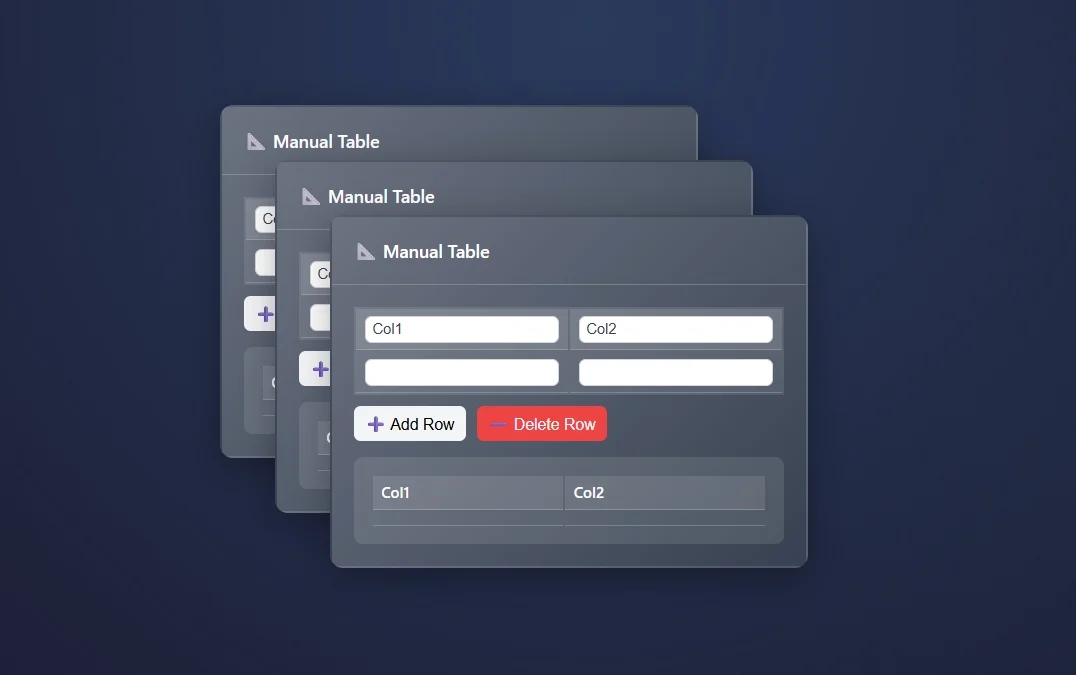
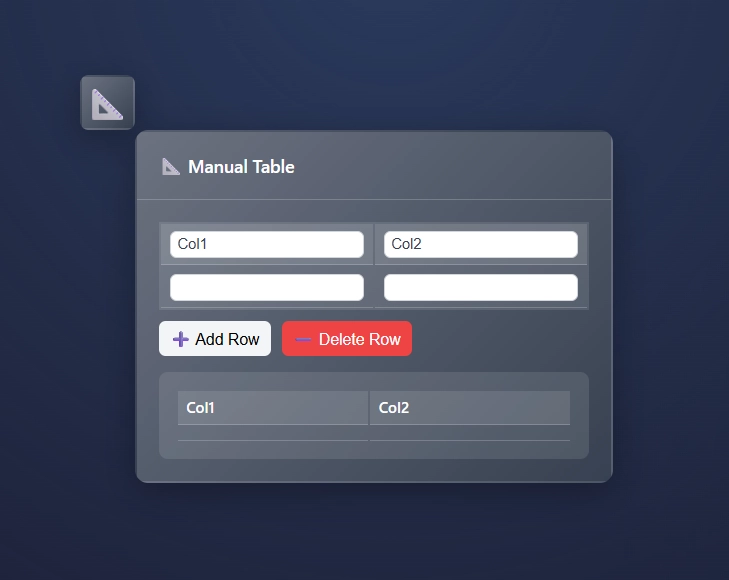
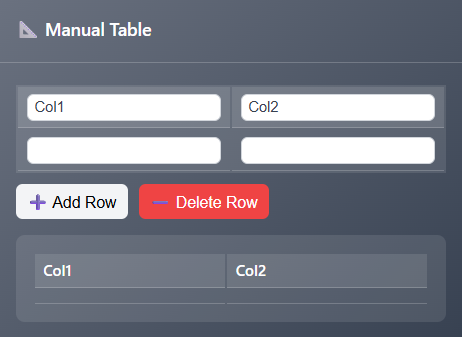
Using the Manual Table Node is straight forward in ET1.
type in headers for column 1 and/or column 2
begin creating the first row of data
add more rows or delete rows
Thanks for learning more about ET1’s Manual Table Node
We appreciate you using ET1’s Manual Table Node, and know if you have any questions… Please contact us.
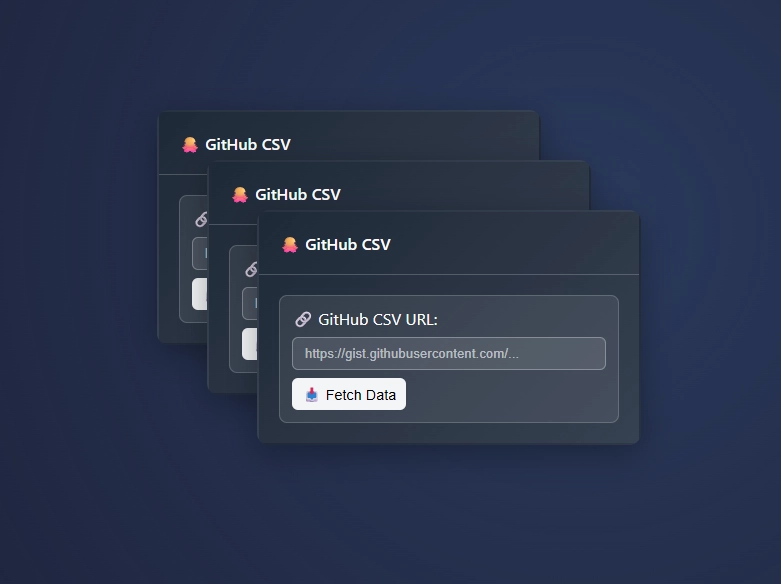
ET1’s Github CSV Node is designed to help end users extract data from Github CSV URLs which are in public repositories.
A public repository on Github is not a place to put your private or company information. However City/State for USA is a commonly used resource in Map Data related solutions.
Unlike the CSV Input Node, which reads data local on your computer, the Github CSV Node is online data.
Any CSV file online is accessible for extraction with this node, if it’s a functional CSV file.
Quick Start
Paste a link to a CSV. We use Github because it’s a familiar repository for engineers and organizations.
If you have a link to github csv public repository, you’re ready to get started.
If you need an example, use the following tutorial below.
Finding Github CSVs for your ETL process
Start with www.google.com, search idea:
<Insert the data source you need> + “Github CSV” would be the best bet.
However github isn’t a requirement
Example: I found state/city data by googling and then:
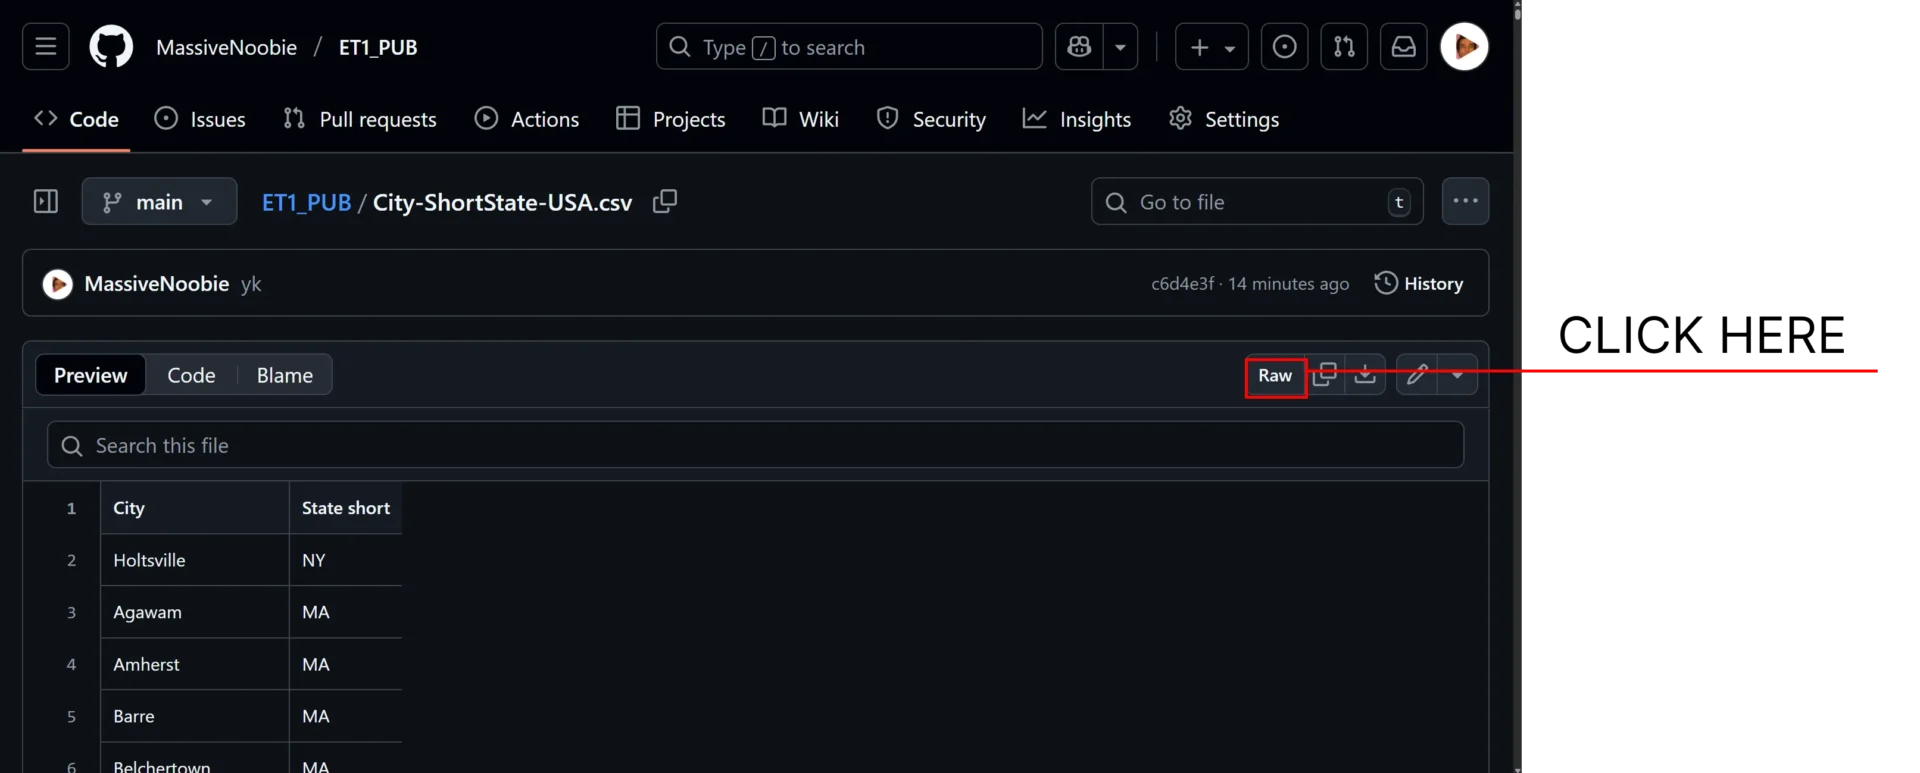
Googling “City State Github CSV”
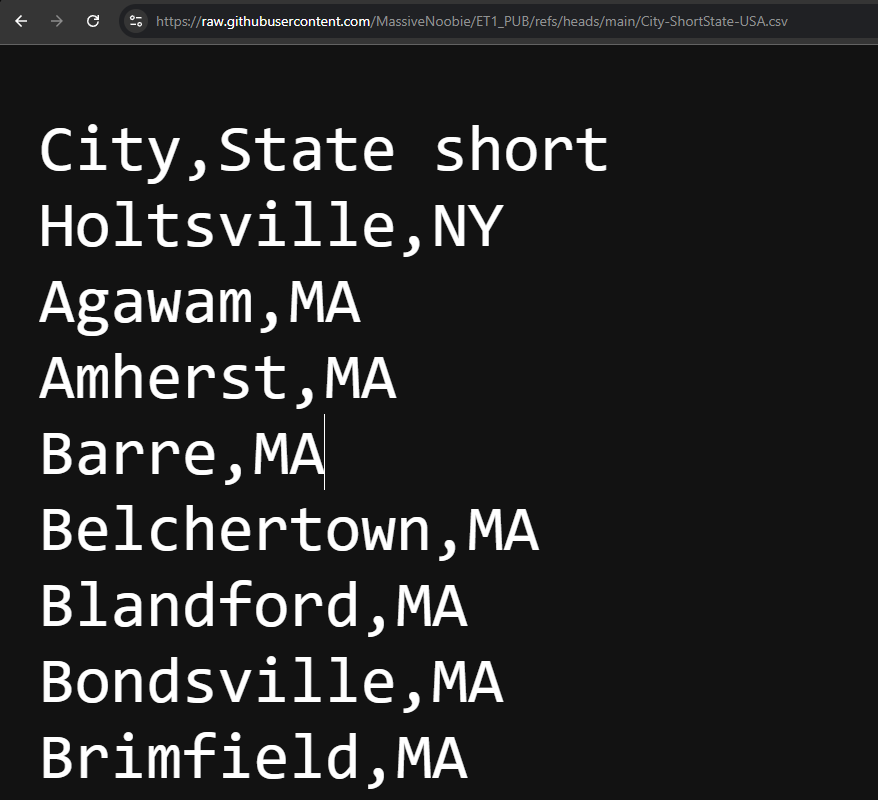
Then you’re taken to a page like this screenshot below
Click RAW..
Clicking RAW drives you to “githubusercontent”.”com”…. Here is where you’re going to grab the URL.
This URL will be pasted in your ET1 Github CSV Node. The screenshot below is what the CSV looks like on Github and what the URL looks like that you’d need to capture. A URL with “.csv” is ideal.
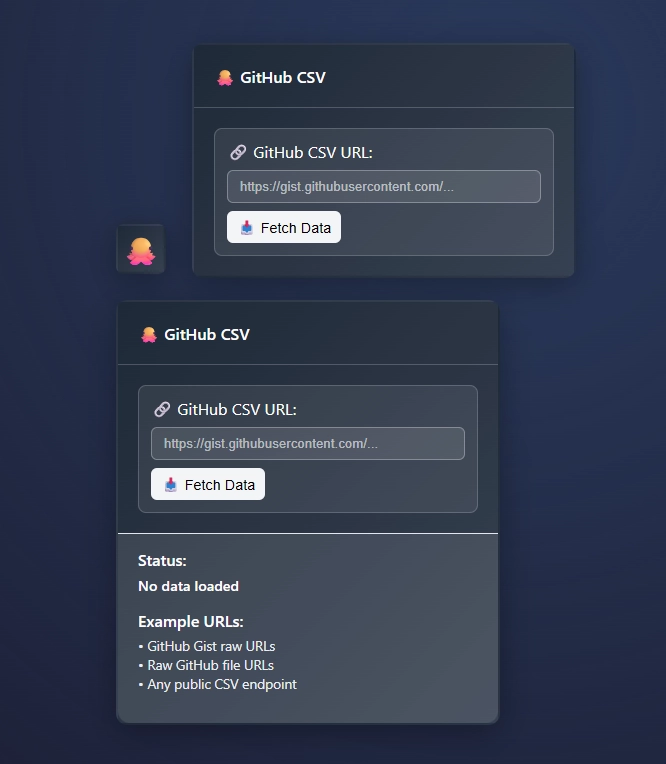
Using Github CSV Node
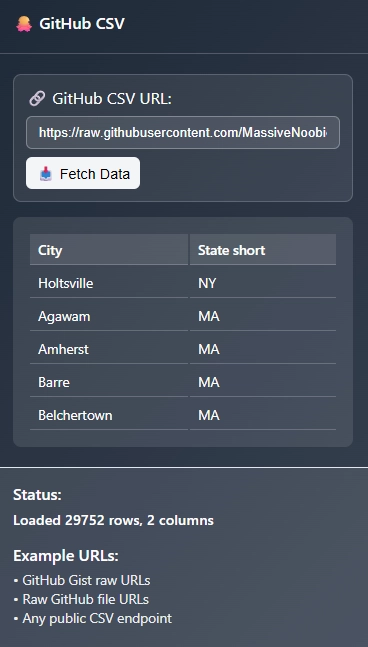
Extracting data from the Github CSV Node only requires a link, use the one above.
Follow instructions above to find the URL
Paste the URL, Github CSV Node will fetch data automatically
Fetch button: created to “refresh”
This node will work for any public facing CSV endpoint
we hope, not all CSV files are created equally
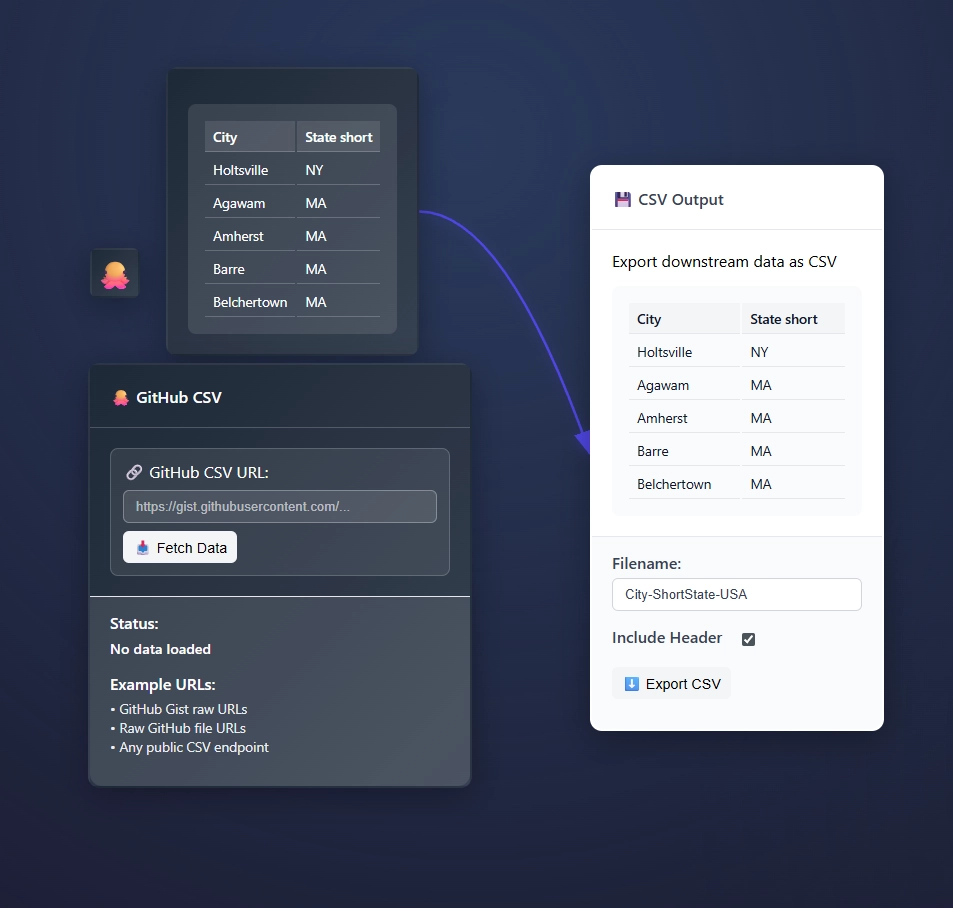
In this example we are pulling data using the Github CSV Node, and writing the data to a file using the CSV Output Node.
A closer view.
Thanks for learning more about ET1’s GitHub CSV Node
We appreciate you using ET1’s GitHub CSV Node, and know if you have any questions… Please contact us.
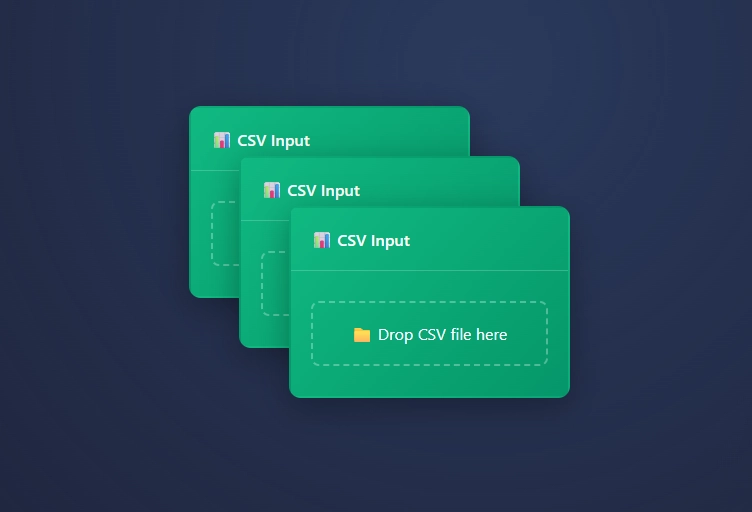
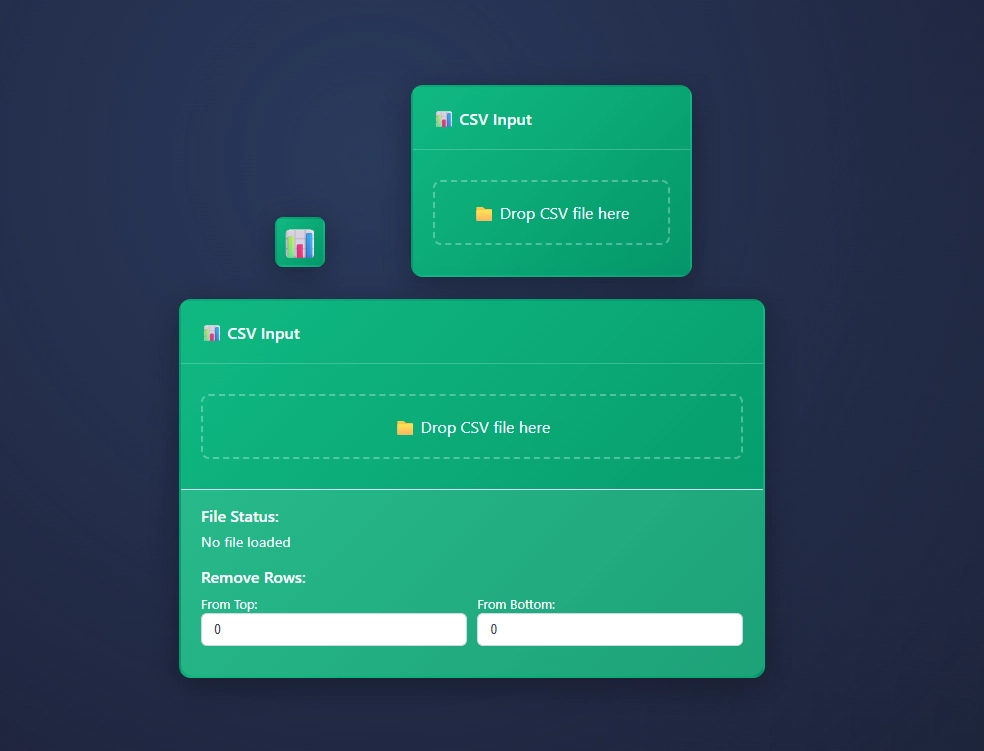
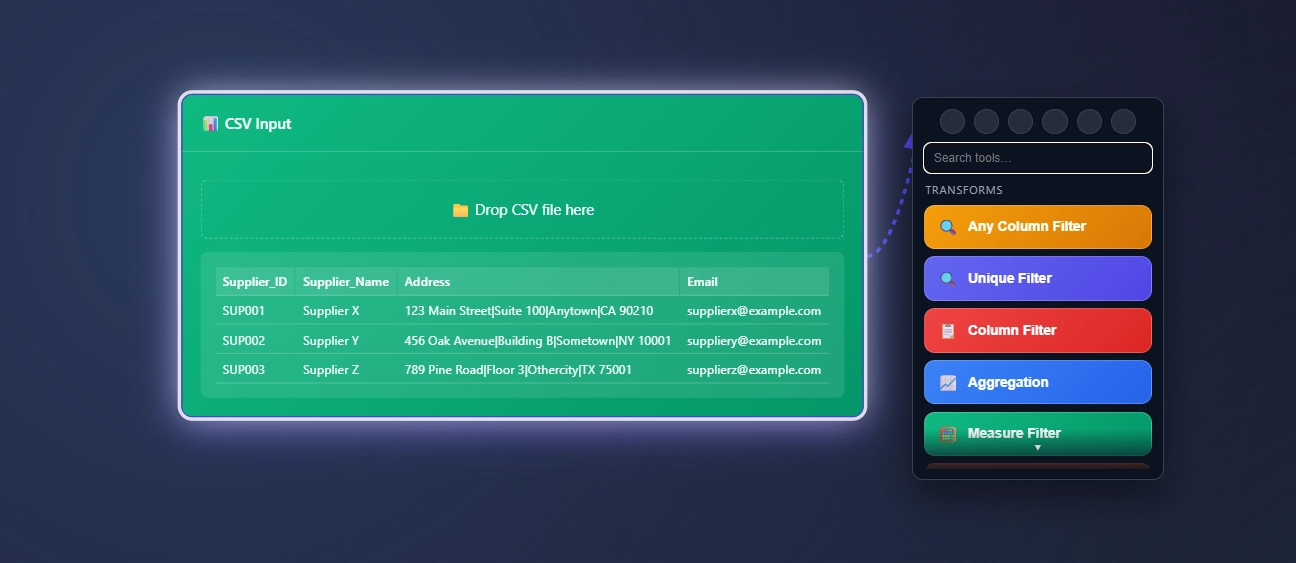
The CSV Input Node, what a classic, flat files living on your computer can be consumed and the data can be extracted here in ET1. CSV is a common file type for data gurus.
Comma-Separated Values, a plain text file format for storing tabular data with values separated by commas.
If you have a CSV file, you’re in the right place.
Click the drag-n-drop to open a file browser, choose your CSV file
Choose to remove rows from the top or bottom
Why would you want to remove the top and bottom of the row? Removing the top and bottom row of your CSV file happens often when dealing with CSV that comes padded with information that isn’t relevant to your solution.
Some CSV files are not structured correctly, and simply not clean enough for ET1, and that means these files will not open. That means the data grid will not populate with data and the CSV Input Node will be ready for the user to try another CSV.
Check your CSV files for strange/weird structures and remediate them prior to ET1.
CSV Node Input Bug Log
To remain transparent about our code driven solution we will also do our best to maintain a running log of bugs found, and the fixes applied to the bug for each node.
Tyler Garrett
While testing the CSV Input Node, I noticed the From Top: and From Bottom: are working separately but not together. Also, you could not undo a decision once completed. It seemed to indefinitely be broken, requiring the entire node to be restarted.
Furth insights:
The CSV Input node was mutating node.data in processCSVData() by slicing rows off the current node.data.
When you changed “Remove Rows: From Top/Bottom” back to 0, the code reapplied removal on already-trimmed data, so the removed rows were never restored.
Relevant code:
node/settings/csvInput.js → processCSVData(node) was computing from node.data rather than an immutable baseline.
CSV Input Bug Fix
Preserve the raw unmodified dataset when the file is loaded.
Always compute the processed dataset from node.originalData in processCSVData() so the operation is idempotent and reversible.
Thanks for learning more about ET1’s CSV Input Node
We appreciate you using ET1’s CSV Input Node, and know if you have any questions… Please contact us.